Image Stabilization Simply Explained
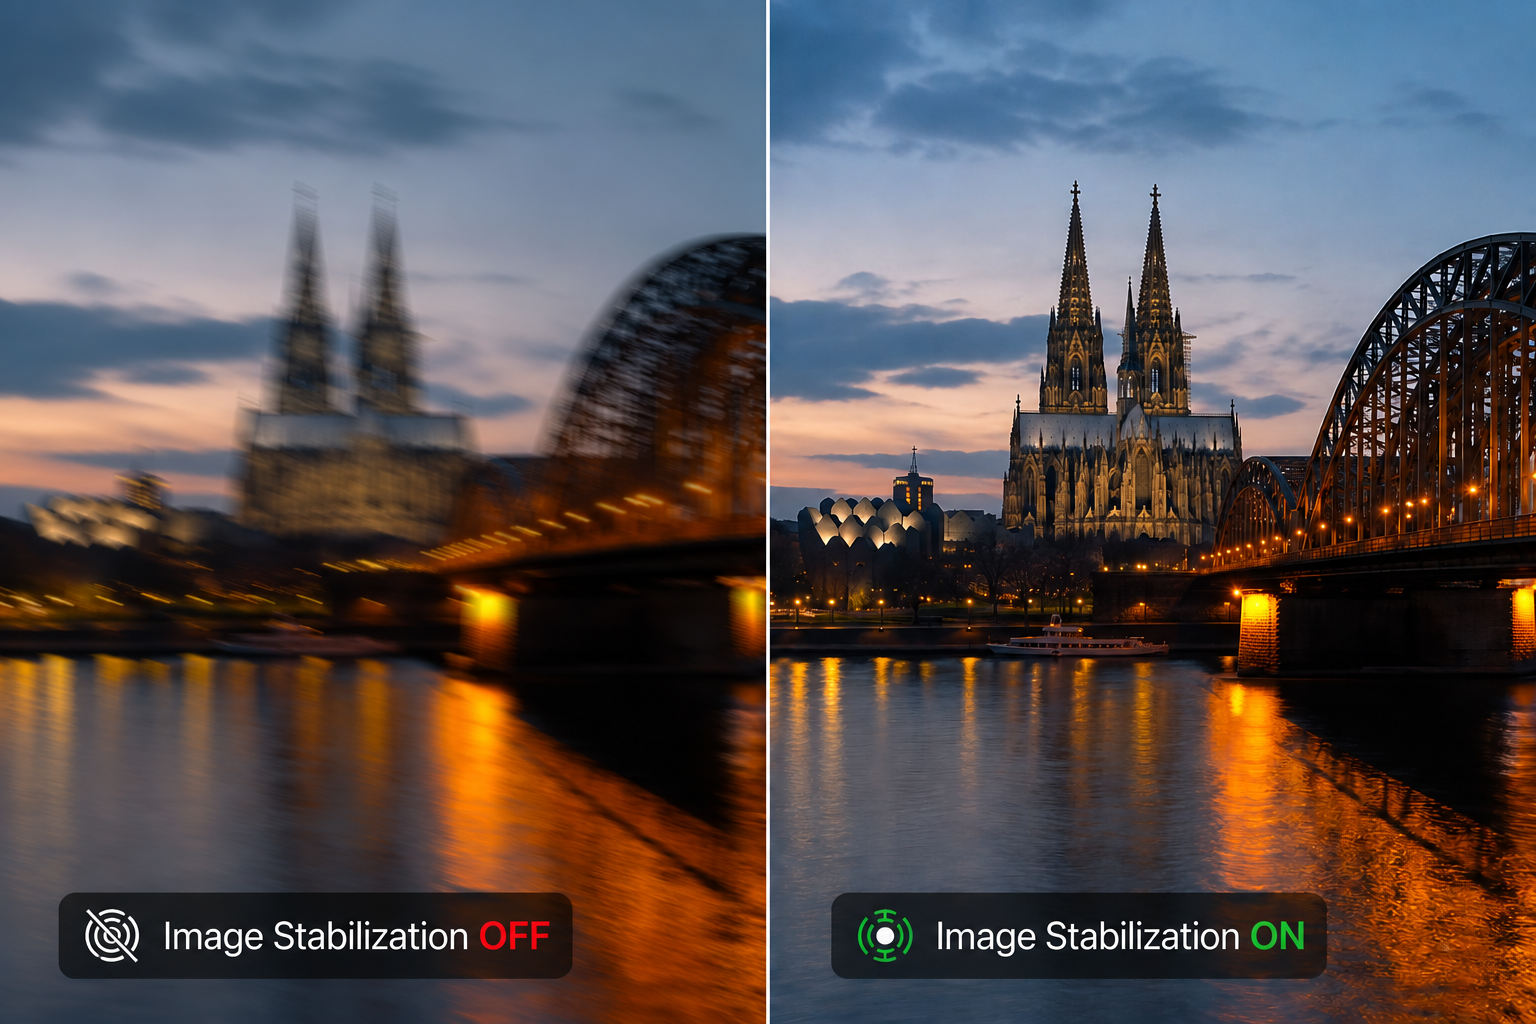
You thought you held the camera steady – yet the photo isn’t sharp? Image stabilization compensates for less than most people think. Here’s what it can really do.

01What Image Stabilization Really Compensates For (and What It Doesn’t)
You know the feeling: You’re standing still, holding the camera firmly, exhaling briefly, and pressing the shutter. In that moment, everything feels right, yet later on the screen, the photo doesn’t look as clear as you expected.
It’s not completely blurry, but you immediately notice something is off. Maybe you even braced yourself, were fully focused, and still end up with an image that just doesn’t fit.
This is exactly where image stabilization comes in. It’s often understood as a technology that can compensate for any kind of blur. In reality, its job is much more narrowly defined. It only compensates for one thing: the completely normal, human movements that occur when holding the camera.
This isn’t about big shakes, but a fine, unconscious restlessness. As soon as the camera or lens detects that this movement is affecting the image, the technology inside works against it. The lenses or the sensor are shifted minimally to compensate for this movement.
But the technology also has its natural limits: It can absorb your own movements up to a certain point, but it doesn’t freeze the world in front of your lens.
If the subject moves, like a running dog, the stabilizer can’t keep the image sharp. It’s only responsible for the camera’s movements – for what happens in the picture, you need the right shutter speed alone. So, there’s a difference between whether the camera shook or the subject was simply too fast.
02Why Camera Shake Is Completely Normal
It’s important to understand: This restlessness has nothing to do with a lack of practice. No human holds a camera perfectly still – not even when it feels exactly that way at the moment of release.
Our hands are constantly moving, even if it’s just minimal impulses. Breathing, natural muscle tension, or small compensatory movements of the body are simply part of it.
Most of the time, we don’t even notice it because the light is sufficient and the camera closes the shutter so quickly that these tiny moments don’t even land on the sensor.
It only becomes critical when the light gets scarcer and you’re forced to keep the shutter open longer. With increasingly longer shutter speeds, every tiny bit of restlessness becomes visible in the image and can eventually no longer be compensated for.
The image then looks soft, slightly shifted, or generally unclean. Not because you did something wrong, but because the stabilization simply reached its limit at that moment.
The shutter speed determines whether motion remains visible or is frozen. This relationship is explained in detail in the article on shutter speed.
03Lens or Camera — Where Does Stabilization Actually Happen?
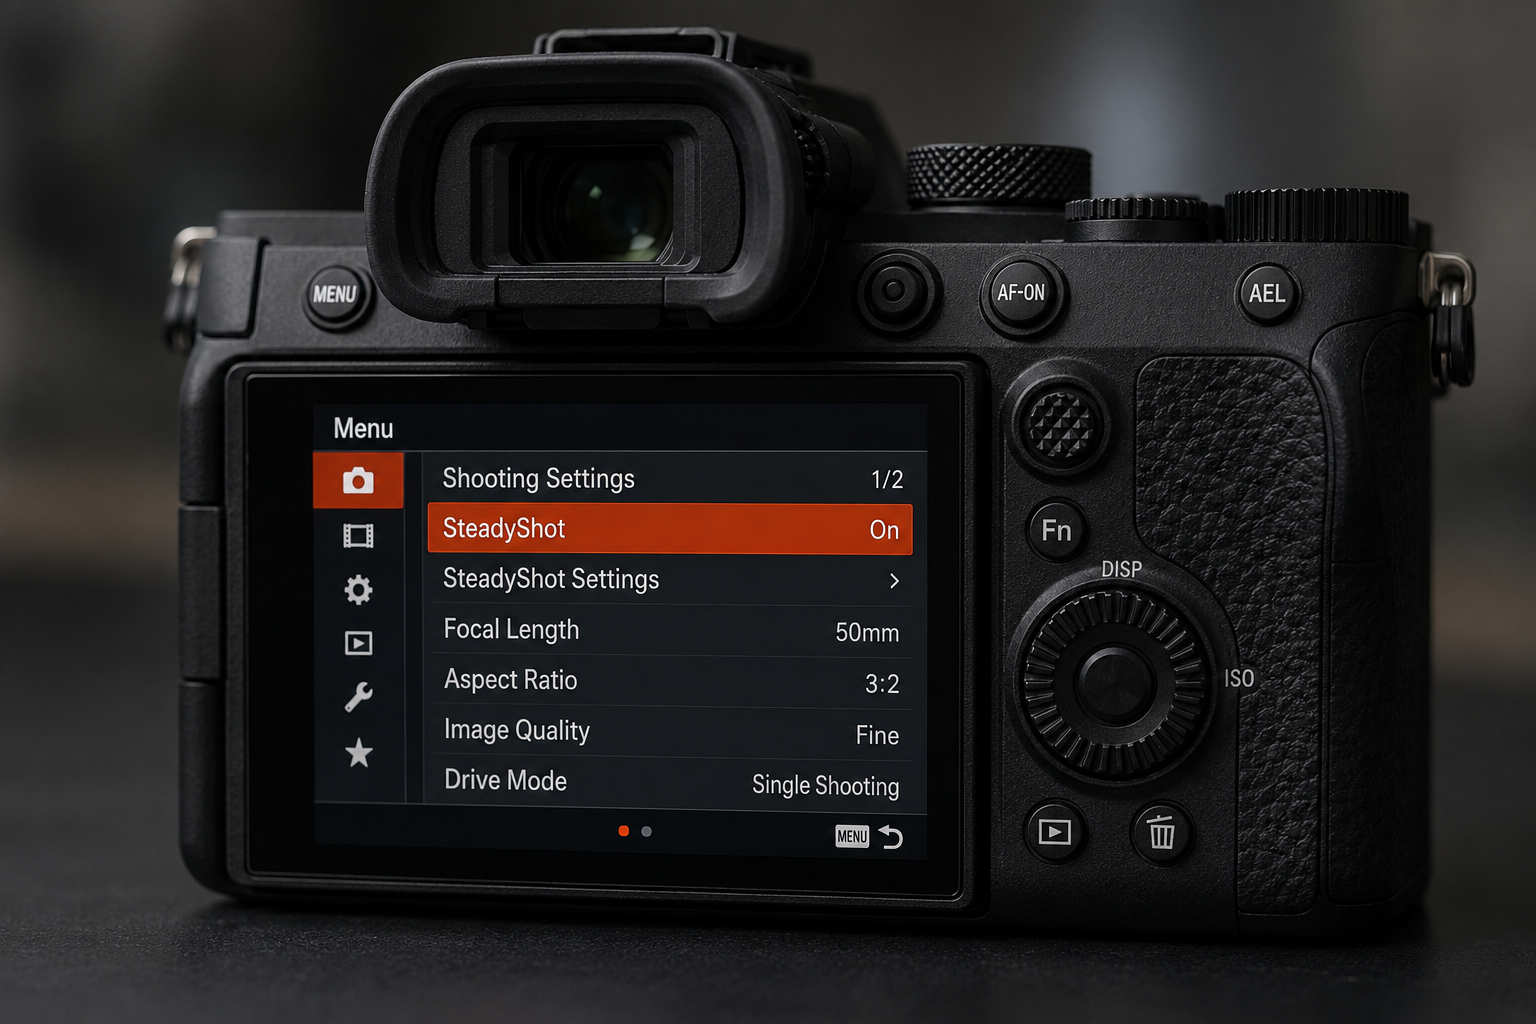
Stabilization is now available in both lenses and cameras – depending on the model, of course. This initially sounds like a big technical difference, but in everyday photography, it’s usually less complicated than you might think.
With lens-based compensation, movable lenses are used to absorb the camera’s movement. This plays a role especially at longer focal lengths, like with telephoto shots, where even the smallest shakes have a much greater impact. With in-camera compensation, on the other hand, the sensor itself moves. The big advantage here: This system works regardless of the lens used.
So, do you absolutely need both? The honest answer: In most situations, one of the two systems is completely sufficient to make the difference between a blurry and a clear photo. When both systems work together, you mainly have more leeway – it’s a bonus, but not a reason to question your equipment.
04A Rule of Thumb for Focal Length
To get a feel for when the risk of camera shake increases, a simple guideline helps: The longer your focal length, the shorter your shutter speed should be. The so-called reciprocal of the focal length is often used here.
This often sounds more complicated than it is in practice. As a rough guide, you can simply remember your focal length. The number after the slash in your shutter speed should be at least as high as this focal length. For example, if you’re shooting with a focal length of 50 mm, you’re generally on the safe side if you work with 1/50 second or faster – meaning a larger number like 1/100 or 1/500. The larger the number after the slash, the shorter the exposure time – and the less small shakes matter.
It only becomes critical when the number after the slash is significantly smaller than your focal length – for example, 1/10 second with a 50 mm lens. In such situations, you need a solid surface or a tripod to reliably avoid camera shake.
Please note: This rule of thumb refers to cameras with a full-frame sensor. However, if you use a camera with a smaller sensor (like APS-C or Micro Four Thirds), it’s worth considering this relationship a bit more closely. Because the smaller sensor creates a narrower angle of view, fine hand movements become more noticeable in the result. In practice, a 50 mm focal length on an APS-C camera with a 1.5x crop factor acts roughly like a 75 mm focal length. To get a similarly safe result, you therefore usually need a slightly faster shutter speed – so more like 1/75 second or faster.
05Why the Topic Often Seems Unnecessarily Complicated
Many explanations of image stabilization quickly get lost in technical details. They talk about axes, stops, diagrams, or marketing numbers that look impressive on paper but offer little guidance in everyday life.
The problem here isn’t the technology itself, but the focus. You might understand how a system is built afterward, but not when it really helps while photographing – and when it doesn’t.
A much simpler thought to keep in mind is therefore more helpful: Image stabilization doesn’t replace light or a fast shutter speed. It’s not a magic switch for sharpness, but rather a steady hand on demand – a little bit of security when it matters most in the decisive moment to stay as still as possible.
06When the Technology Hinders Rather Than Helps
As useful as image stabilization is, there are situations where it hardly plays a role anymore. This is especially true at very fast shutter speeds, where camera shake doesn’t have time to become visible anyway. In this range, it simply provides no additional effect.
The situation is different with long exposure times. If the camera is on a tripod for a photo or resting stably on a solid surface, the system basically has nothing left to compensate for. In this complete stillness, some stabilizers react irritably: They start looking for movements that aren’t there and can even make the image look more restless as a result.
The rule of thumb is therefore simple: As soon as the camera has a firm base and is absolutely stable, you should turn off the stabilization. At that moment, less technology leads to a clearer result.
07The Most Important Thought to End With
If you often wondered before this article why images are blurry despite the stabilizer or whether you might be doing something “wrong,” then hopefully one thing has become clear now: The problem usually isn’t you – it’s the conditions under which a photo is taken.
Image stabilization isn’t a magic trick, but it’s far more than a nice extra. In everyday life, it often determines how much leeway you have when the light gets scarce, time is pressing, or you simply can’t find a firm stance. The better you understand what it does and where its limits are, the more relaxed and confident you’ll be when photographing.
Frequently Asked Questions About Image Stabilization
What does image stabilization really compensate for?
Image stabilization exclusively compensates for the fine, unconscious movements that occur when holding the camera. It cannot compensate for the movement of the subject itself, like a running dog – that’s solely the job of the shutter speed.
Should I turn off image stabilization on a tripod?
Yes. If the camera is standing absolutely stable on a tripod, the stabilization has nothing left to compensate for and can, in some cases, even produce restless results because it’s searching for movements that aren’t there.
What is the rule of thumb for shutter speed and focal length?
The number after the slash in your shutter speed should be at least as high as your focal length. At 50 mm, you’re usually on the safe side with 1/50 second or faster. With APS-C cameras, you should go a bit faster because of the crop factor.
Lens or camera stabilization – which is better?
In most situations, one of the two systems is completely sufficient. Lens stabilization helps especially at long focal lengths; in-camera stabilization works regardless of the lens. Both together provide more leeway, but aren’t a must.