
Photography Basics
ISO in Photography — Explained Simply
ISO looks simple – but it’s the reason so many beginner photos come out either too dark or unnecessarily grainy. Here’s how to set it correctly.
01What Does ISO Mean in Photography?
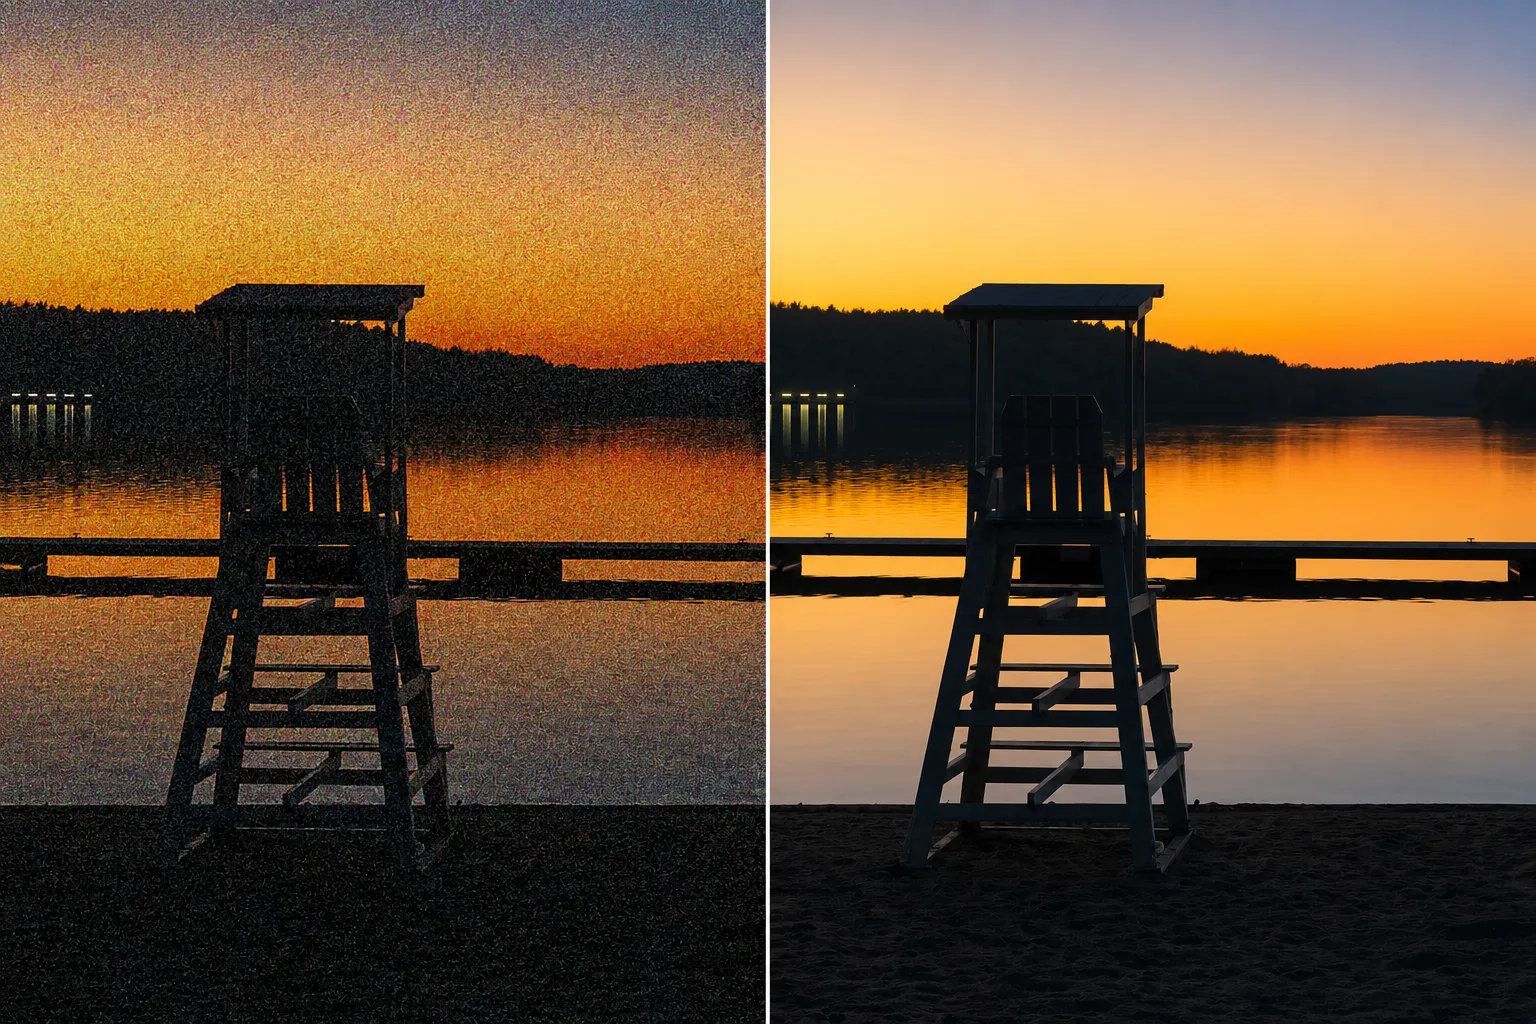
When I first got into photography, I genuinely didn’t understand what this whole ISO thing was about. And plenty of beginners still feel the same way today. The abbreviation ISO stands for the International Organization for Standardization, and in digital photography it describes the sensitivity of your camera’s sensor to light. In film photography, this was called film speed – today, digital cameras handle the same effect electronically through the sensor. In short: the ISO value shows how sensitive the sensor is to incoming light – the higher the ISO, the brighter the image. Think of ISO like a volume knob for light: the sensor picks up a quiet signal (not much light), and ISO amplifies that signal to brighten the image.
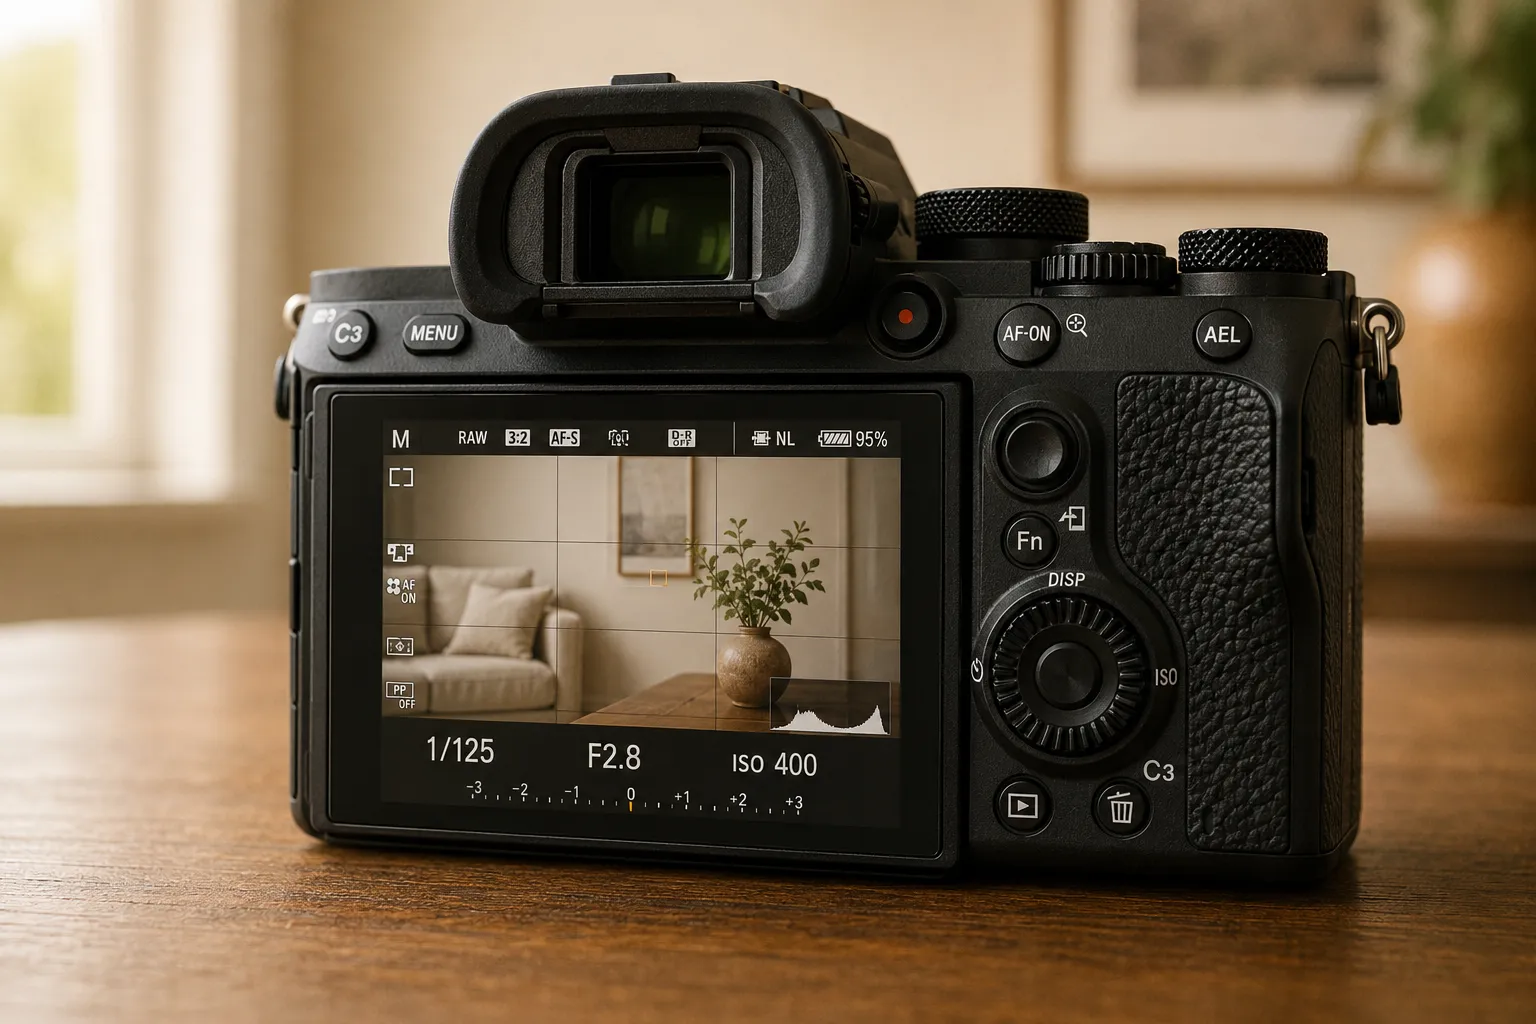
You can easily check and change the ISO setting right on your camera. ISO is expressed in fixed steps – ISO 50, ISO 100, ISO 200, ISO 400, ISO 800, ISO 1600, ISO 3200, or even ISO 6400 and beyond. Each step up doubles the sensor’s light sensitivity: ISO 200 is twice as sensitive as ISO 100, and ISO 400 is twice as sensitive as ISO 200.
Since higher ISO values increase light sensitivity, you can keep shooting even in low light – at least up to a certain point, before image noise becomes visible.
02Why the ISO Value Matters So Much
As you learn photography, you’ll quickly notice that ISO is inseparably linked to aperture and shutter speed. Together, they form what’s known as the exposure triangle, and they determine how bright or dark your image turns out. If you want a deeper look at exactly how these three settings work together, my article on the exposure triangle covers ISO, aperture, and shutter speed in detail.
Whenever you change shutter speed or aperture, exposure shifts as a result. Depending on your goal, you may need to adjust ISO as well – or it’ll adjust automatically if you have Auto ISO turned on. Understanding exactly how these three work together is one of the most important steps toward feeling confident with your camera.
At high ISO values – several thousand and up – the sensor becomes especially sensitive to light. That enables shooting in poor lighting conditions, but it also raises the risk of noise. Modern cameras handle high ISO values far better than older models did, though. The key is finding the right ISO for your specific situation – the value that balances brightness and image quality.
But high ISO values do have their limits – and that’s exactly where image noise comes in.
03Image Noise — Where High ISO Hits Its Limits
When you raise the ISO value, the camera amplifies the sensor’s signal to brighten the image. But that amplification comes with a side effect: it also amplifies small imperfections in the image – what’s known as image noise. It shows up mostly in darker areas as fine, colored specks or grainy texture, and can quickly make photos look messy.
How visible the noise gets depends on the camera. Some models show noise early at high ISO values, while others stay surprisingly clean even at very high sensitivities. What matters most is the light sensitivity of the specific sensor: cameras with larger sensors – full-frame models, for instance – can shoot cleanly in low light for longer, while cameras with smaller sensors deliver very clean, detailed results in daylight but tend to show noise sooner in low light.
If you want a clean, detailed image, only raise the ISO as far as absolutely necessary. Pay attention to the point where your camera starts showing visible noise – that’ll give you a feel for where the best balance between brightness and image quality lies.
04Finding the Right ISO Setting
A lot depends on the lighting conditions you’re shooting in. Outdoors in sunlight, ISO 100 or 200 works great. Indoors or at night, you’ll often start around ISO 800 and go higher into the thousands if needed – assuming you don’t have or want to use a flash. Many modern cameras handle this automatically with Auto ISO, but if you shoot deliberately, it’s worth keeping an eye on ISO to make sure you get the effect you’re after.
If you want more control, you can also adjust ISO manually. You’ll quickly notice: the lower the ISO, the cleaner and more detailed the image – higher ISO values brighten the shot but can introduce some noise. That said, modern cameras handle high ISO values so well that even at very high settings, you’ll get excellent results with minimal, barely visible noise.
05Noise as a Creative Tool
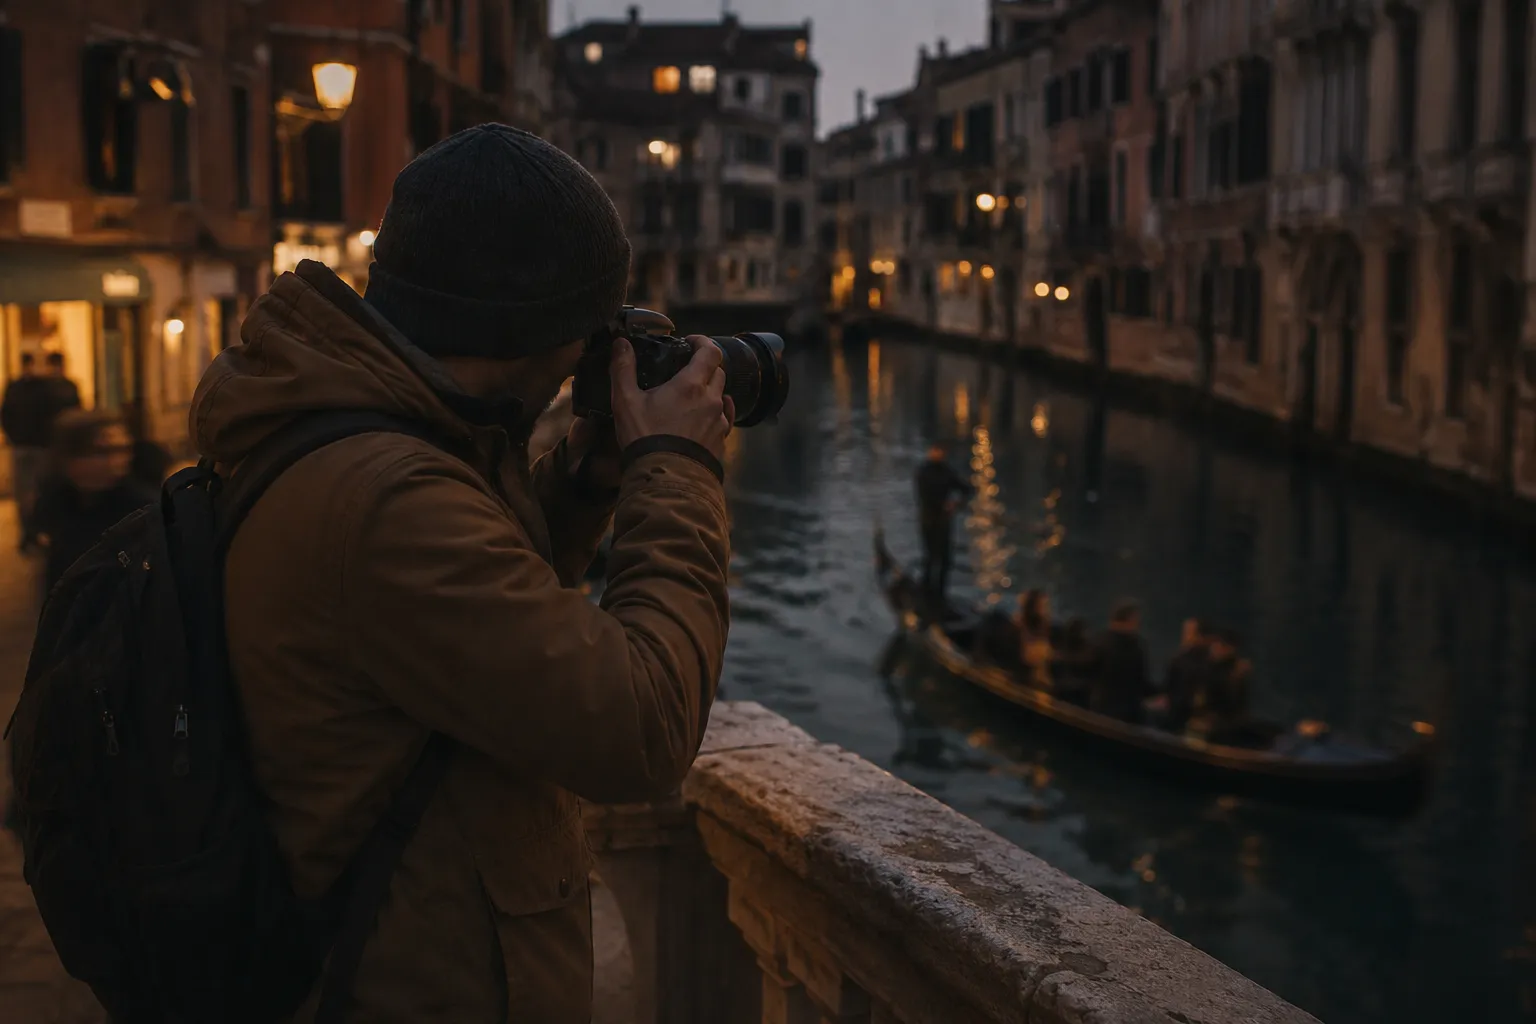
At the same time, don’t think of noise purely as a downside. Some photographers deliberately embrace the fine grain that comes with high ISO values as a stylistic choice. It can give images an analog, almost nostalgic look reminiscent of classic film photography – especially in black-and-white shots or moody low-light scenes. What matters is knowing when you want to avoid noise, and when you can use it intentionally for the mood of your image.
Over time, you’ll learn to balance aperture, shutter speed, and ISO together. Depending on the subject, the light, and the look you’re going for, you’ll open up the aperture, lengthen or shorten the shutter speed, or raise the ISO – always aiming for a balance between brightness, depth of field, motion, and noise.
06Conclusion — Understanding ISO Means Understanding Light
ISO is the tool you use to control how sensitive your sensor is to light. It shapes brightness, image quality, and noise behavior. Once you understand how ISO works together with aperture and shutter speed, you can expose any scene deliberately and shape light exactly the way you want.
Whether you shoot with a DSLR or a mirrorless camera, the principle stays the same. Most cameras today offer plenty of automatic and manual options for adjusting ISO. The key is choosing it deliberately and paying attention to how it changes your image.
07Try It Yourself
Take a photo in daylight at ISO 100, then take one in low light at ISO 5000. Pay attention to how brightness, color, and detail change.
That’ll give you a real feel for just how much ISO affects your image – and you’ll learn to use it deliberately for your own style.
Common Questions About ISO
What’s a good ISO value for beginners?
In daylight and good lighting conditions, ISO 100 to 200 is ideal. Indoors or in low light, you can safely go up to ISO 800 or higher, as long as your camera handles it well.
Does a high ISO value automatically make the photo worse?
Not necessarily. A high ISO value can cause image noise, but modern cameras handle high ISO values much better than they used to. Sometimes a slightly higher ISO is a better trade-off than a blurry or underexposed photo.
What’s the difference between ISO, aperture, and shutter speed?
ISO controls the sensor’s sensitivity to light, aperture controls how much light passes through the lens, and shutter speed determines how long the sensor collects light. Together, they form the exposure triangle, which determines how bright your image turns out.
At what ISO does noise become visible?
That depends heavily on the camera and sensor size. Full-frame cameras often stay clean well into high ISO ranges, while smaller sensors can show visible noise sooner. The best approach is to test your own camera and see where noise starts to show.