
Photography Basics
White Balance in Photography Explained
Colors are the heart of your photos – but not every light shows them the way you perceive them. Here’s how to use white balance to get natural colors in any lighting situation.
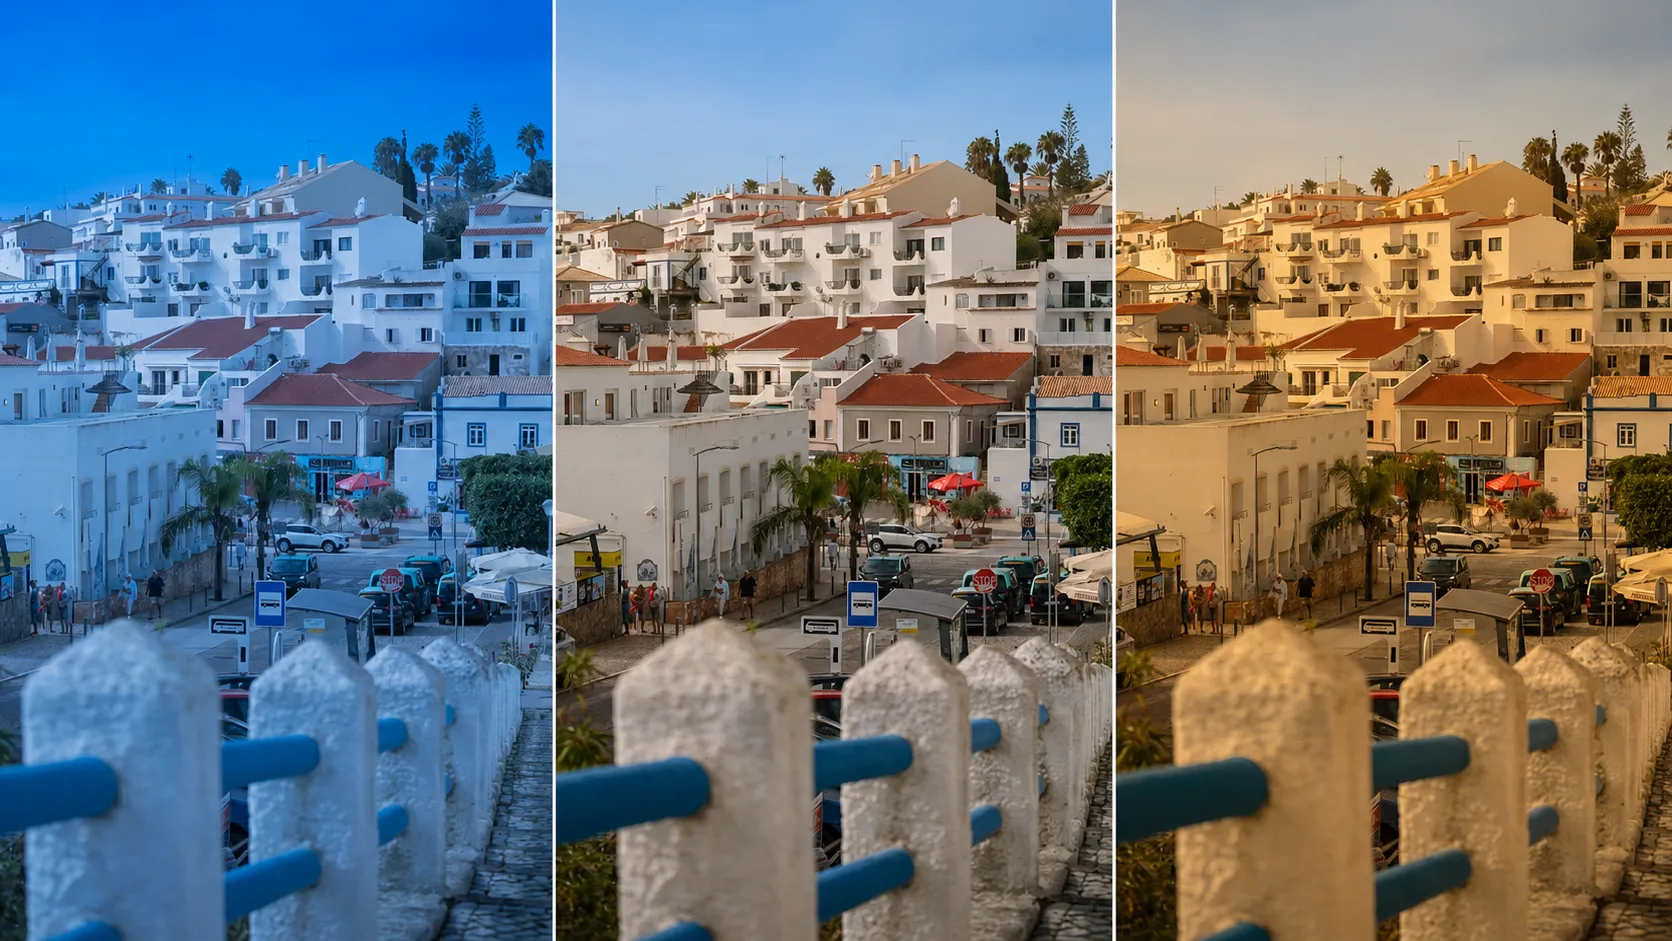
01White balance? Huh?
White balance was one of the things I didn’t understand at all when I started. What a strange term – I couldn’t make sense of it. Yet it’s actually quite simple. The answer is right there in the name: it’s about balancing “white.”
You’ve surely seen photos where the colors just weren’t right – everything looked too yellow, too blue or somehow unnatural. Maybe the light was beautiful when you took the photo, and yet the result looked completely different later. That’s exactly where white balance comes in.
Our eyes adapt automatically to every light source – whether it’s warm lamplight or cool daylight. A camera, on the other hand, needs a clear reference for this. It doesn’t know by itself which light is truly “white.” That’s why you have to help it set the correct white balance. How the camera decides what counts as neutral is closely related to the topic of exposure metering.
02What white balance actually does
In short: white balance determines how your camera interprets the colors of a scene. While your eye constantly adapts to changing light, the camera only “sees” what the sensor records.
If it photographs a white surface under an incandescent bulb, it often looks yellowish. If you photograph the same surface outdoors in the shade, it suddenly looks bluish. White balance makes sure that white in the image really stays neutral – neither too warm nor too cool.
03Understanding color temperature and light sources
Every light source has its own color temperature, measured in kelvin (K). This number describes whether the light itself looks warm (reddish) or cool (bluish) – the lower the value, the warmer the light.
Warm light — low kelvin values
Candles burn at roughly 1,900 K, and incandescent bulbs are usually around 2,700–3,200 K. Both look distinctly orange to reddish, which creates a cozy, emotional mood.
Neutral light — medium kelvin values
Midday daylight and flash are in the range of roughly 5,000–6,500 K. This is the neutral reference point for most cameras – the “daylight” preset, for example, is typically set to about 5,200 K.
Cool light — high kelvin values
Overcast skies and open shade give a distinctly cooler, bluish light, from about 6,500 K up to 7,000 K and beyond. Scenes lit this way look clearer, more modern and more technical.
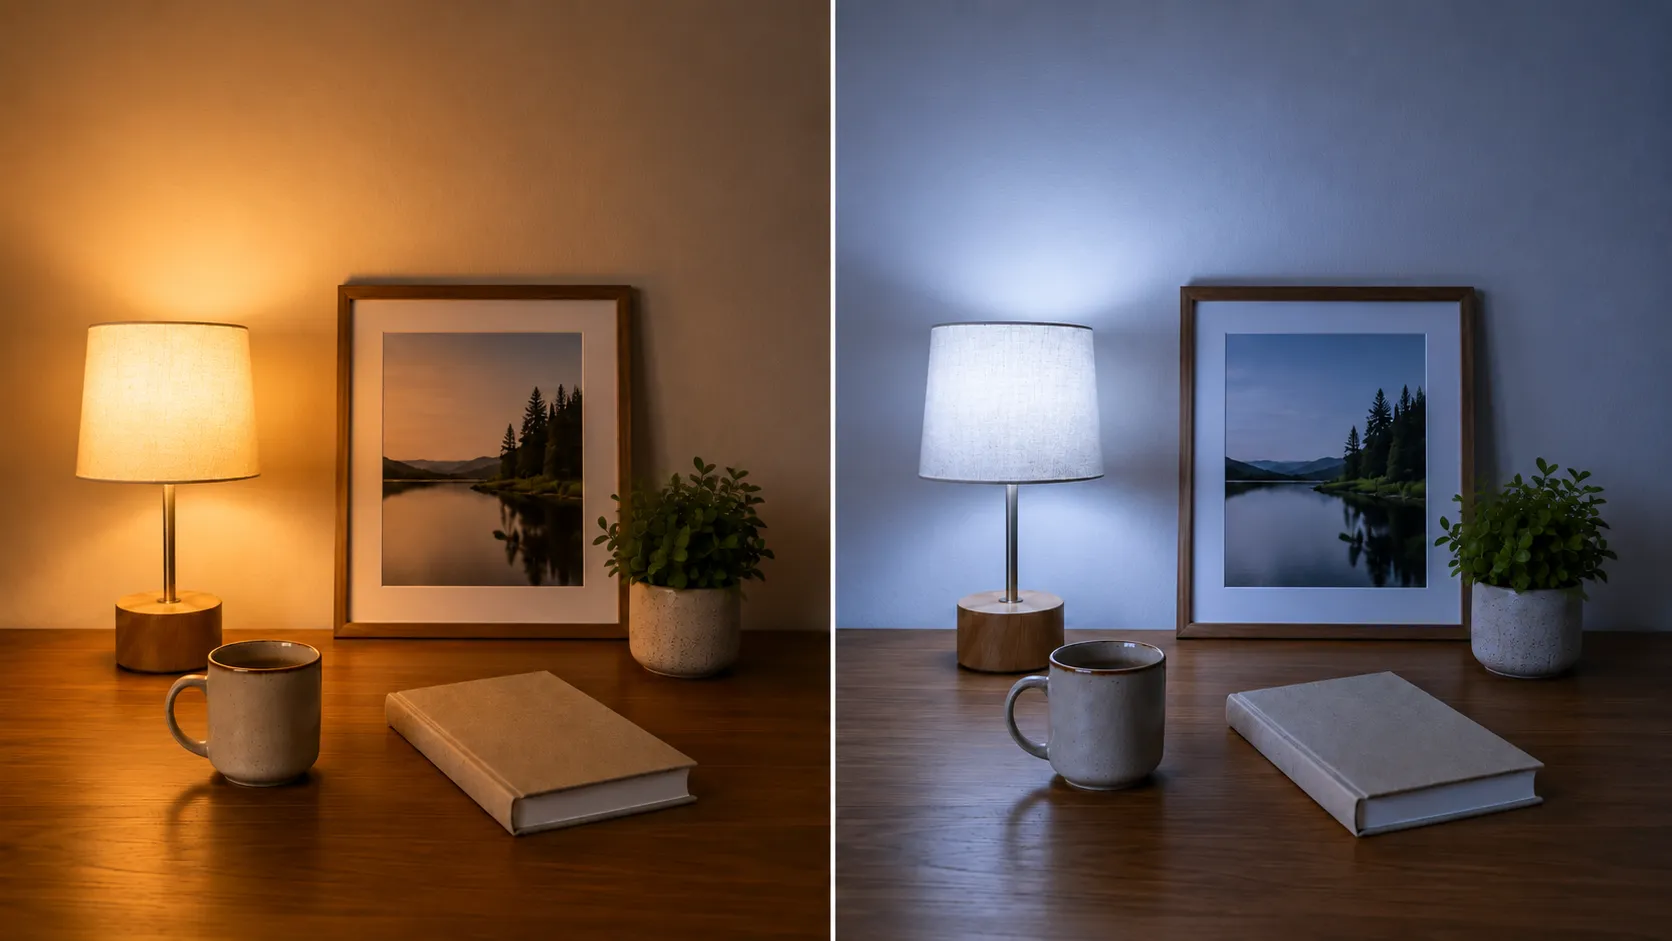
The kelvin value describes the light, while white balance is what you set on the camera. You tell the camera which light to expect, and it compensates so that white stays white. If that setting doesn’t match the actual light, the image gets a color cast and the colors look unnatural. Used deliberately, white balance also lets you shape the mood – neutral, warm or cool, exactly as you like.
04Setting it automatically or manually
Modern cameras have an automatic white balance (AWB) – and in most situations it already takes a lot of work off your hands. The camera detects the lighting conditions surprisingly reliably, especially outdoors in even light or in scenes with just one clear light source.
It gets a bit trickier when different light sources mix – for example, when cool daylight comes in through the window while warm artificial light is on in the room. Then the camera often no longer knows exactly which light to use as its reference.
1. Use presets
Your camera offers various presets such as daylight, shade, tungsten or cloudy. With these you can react quickly and adapt the colors to the lighting conditions.
2. Choose the kelvin value directly
Many cameras let you enter a kelvin value directly. Here the number tells the camera what color temperature the light has, and the camera compensates for it. Under a lamp of about 3,200 K, setting 3,200 K gives neutral colors; in daylight, around 5,200 K does. If you set a higher value than the light really has, the camera assumes bluer light and makes the image warmer; a lower value makes it cooler. This method is more for advanced users.
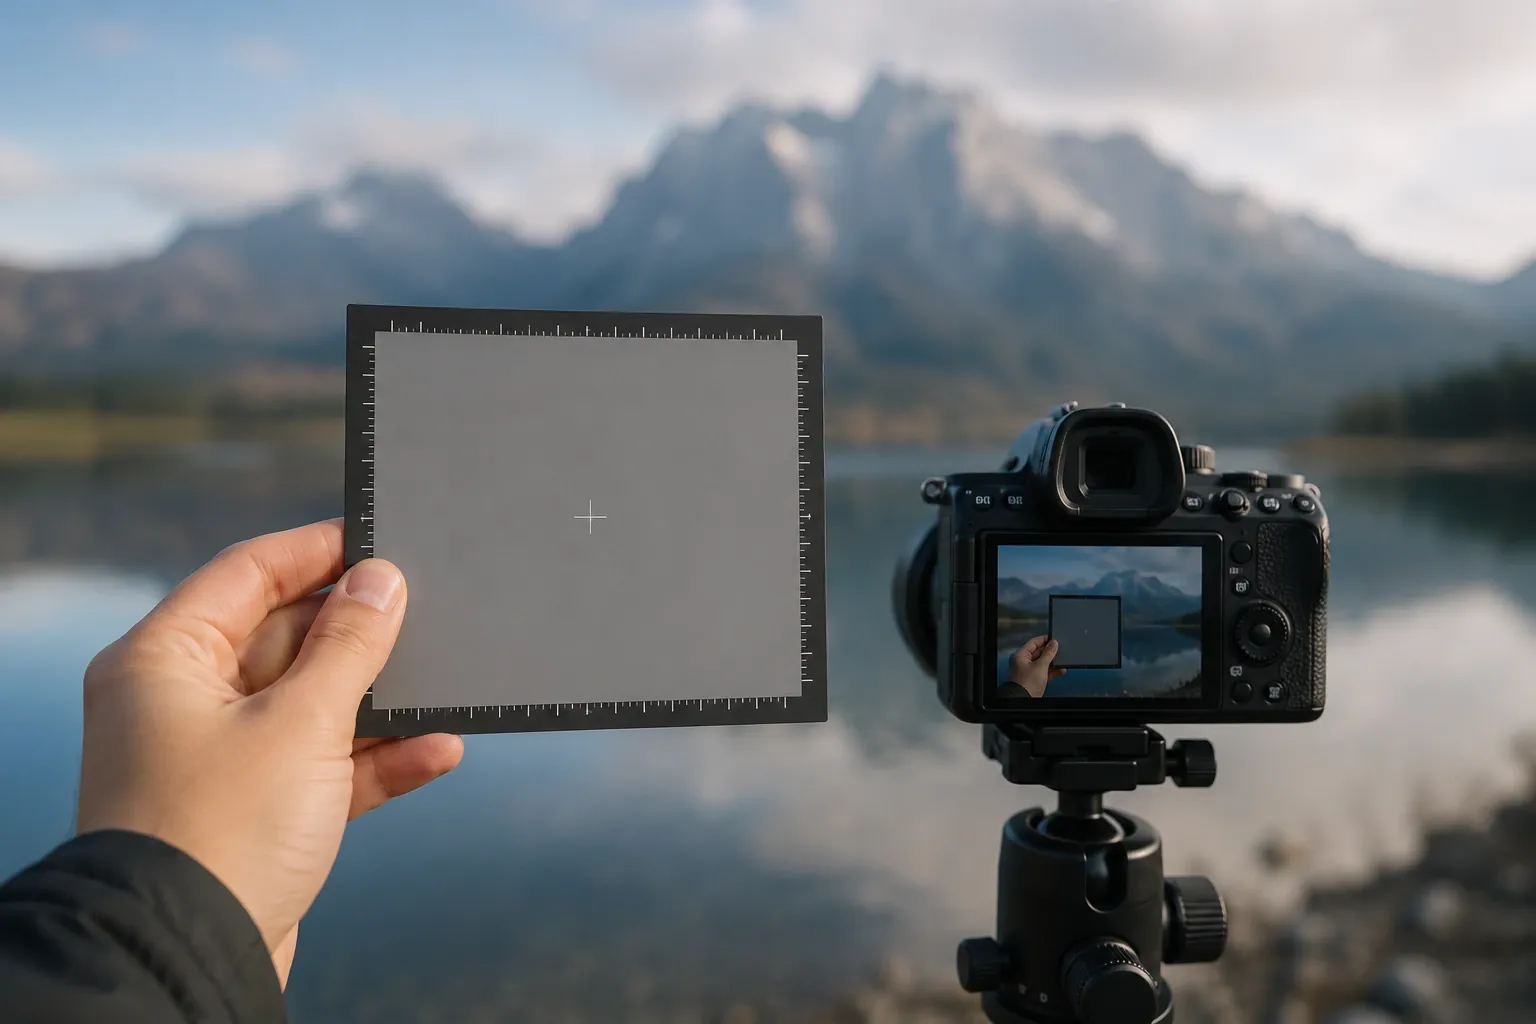
3. Work with a gray card
A gray card serves as a neutral reference for your camera and helps determine the color temperature exactly. Simply hold it in the same light that falls on your subject – that way the camera can evaluate the light correctly. It is especially helpful with mixed color temperatures. You’ll find a detailed explanation in our article gray card in photography.
But honestly? I personally shoot in AWB mode 90% of the time. Automatic white balance does a really good job – especially outdoors or in even light.
05If white balance was wrong
Don’t worry – it happens to everyone, and it’s not a big deal. If you shoot in RAW format, you can adjust white balance at any time afterwards, without any loss of quality. In Lightroom or Photoshop you’ll find the white balance controls for this: they let you change both the color temperature and the tint (green–magenta).
This is especially handy when you weren’t sure while shooting or when the lighting changed suddenly. Often a small slider adjustment is enough – or you simply let white balance be corrected automatically.
06RAW vs. JPEG
The file format makes a big difference if you want to adjust white balance afterwards. In JPEG format, the white balance data is already baked into the image – later corrections are only possible to a limited extent.
RAW format, on the other hand, contains all the color information. With it you can easily adjust white balance after the fact and fine-tune every nuance. That’s why my clear recommendation is: shoot in RAW whenever you can if you want to get the most out of your images later.
07Conclusion: Natural Colors in Every Situation
White balance is one of the simplest yet most effective tools in photography. It helps your camera interpret the color temperature of the light correctly and render the image the way it actually looks.
Grab your camera and play around with white balance a little. Try how your images change when you switch from “daylight” to “tungsten” – you’ll be surprised how much this one setting alone changes the mood of your photo.
If you want to understand even better how white balance, exposure and composition work together, also read our article on the exposure triangle.
Frequently Asked Questions About White Balance
Should I always shoot with automatic white balance (AWB)?
For most situations, yes – modern cameras detect the light very reliably, especially outdoors with a single light source. With mixed lighting or when you want a particular mood, manual white balance is worth it.
Can I still correct white balance in JPEGs afterwards?
Only to a limited extent. With JPEGs, the white balance data is already baked into the image. In RAW format, by contrast, the color temperature can be adjusted without loss.
When do I need a gray card for white balance?
Mainly for critical shots with mixed light sources, such as product photos or indoor shots with artificial light and daylight at the same time. For most everyday situations, AWB or a preset is enough.
What kelvin value corresponds to neutral daylight?
Roughly 5,200 to 5,600 kelvin is considered neutral daylight; many cameras use about 5,200 K for their daylight preset. Warmer light such as bulbs is lower, shade and overcast skies are higher.